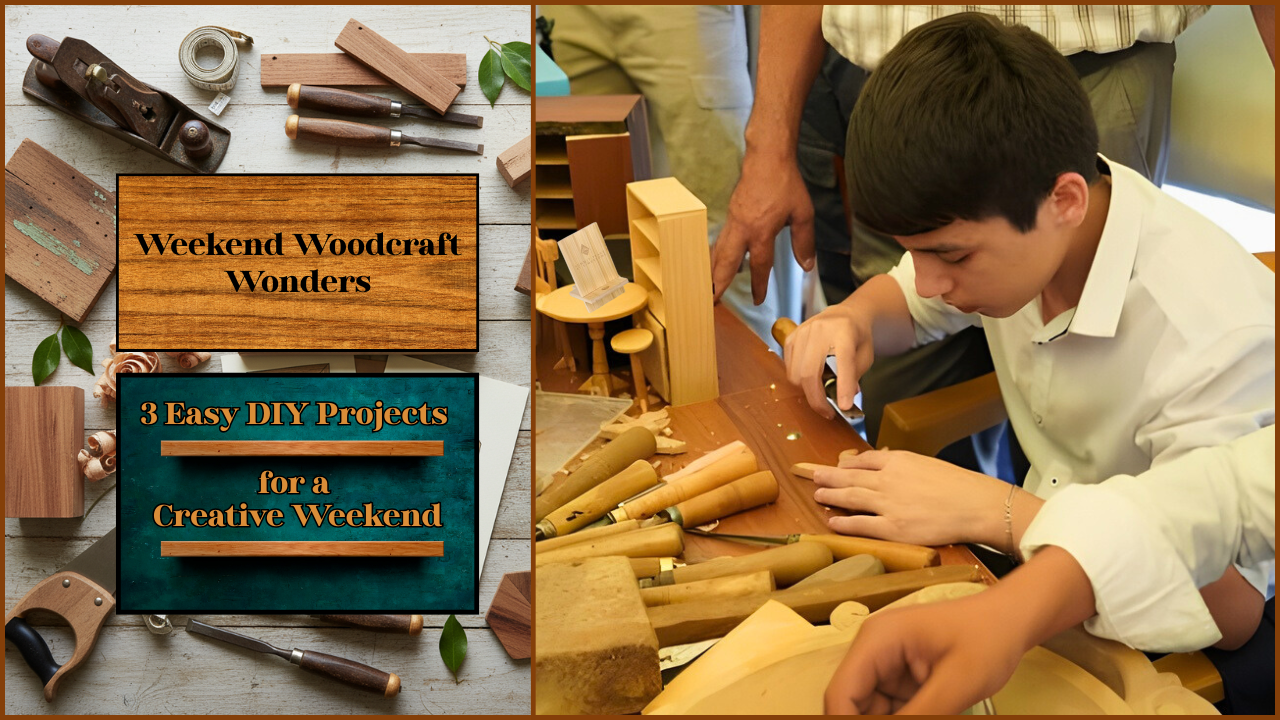
There's a unique kind of magic in transforming a simple piece of wood into something beautiful and functional with your own hands. But for many, the world of woodworking can seem intimidating, filled with complex plans and expensive tools. What if you could capture that magic in just a weekend, using basic tools you might already own?
Welcome to the world of easy wood crafts! This guide is for the aspiring creator, the weekend hobbyist, and anyone looking to add a personal, handmade touch to their space. We're focusing on simple, achievable DIY wood projects that deliver maximum satisfaction with minimal fuss. Forget the giant workshop; a small corner of your garage, balcony, or even kitchen table is all you need to get started in beginner woodworking.
Let's dive into three projects perfect for your next free weekend.
Project 1: Rustic Wooden Serving Board
The Vibe: A charming, rustic board perfect for serving cheese, bread, or appetizers. It's a classic home decor craft that also makes a wonderfully thoughtful gift.
What You'll Need:
- A piece of untreated wood (pine, poplar, or even a nice piece of hardwood offcut) about 12-18 inches long and 6-8 inches wide.
- Pencil
- Jigsaw or handsaw
- Sandpaper (medium and fine grit)
- A drill (optional, for the handle hole)
- Food-safe wood finish (like mineral oil or a beeswax blend)
- A clean cloth
The Steps:
- Design Your Shape: Use a pencil to sketch a simple handle shape on one end of your board. It could be a simple rectangle or a more rounded, organic shape.
- Make the Cut: Carefully cut out your handle shape using a saw. If you're adding a hole for hanging, use your drill to create one at the top of the handle.
- Sand it Smooth: This is the most important step for a professional feel! Start with medium-grit sandpaper to smooth all surfaces and round over any sharp edges. Follow up with fine-grit sandpaper until the wood feels silky smooth to the touch.
- Apply the Finish: Clean off all the dust. Apply a generous coat of food-safe mineral oil with a clean cloth. Let it soak in for about 20 minutes, then wipe off any excess. Your board will instantly come to life with a rich, warm colour.
Project 2: Minimalist Floating Bookshelf
The Vibe: A clean, modern shelf that appears to "float" on the wall. It's a fantastic small wood project that adds stylish storage to any room.
What You'll Need:
- A 1x6 or 1x8 piece of pine or oak, cut to your desired length (24 inches is a great start).
- Floating shelf brackets (available at any hardware store)
- Sandpaper (medium and fine grit)
- Wood stain or paint of your choice
- A drill and screws for mounting
The Steps:
- Prepare the Wood: Your hardware store can often cut the wood to your desired length. Once you have your piece, give it a thorough sanding on all sides, starting with medium and finishing with fine grit.
- Add Your Style: Wipe the shelf clean of dust. Apply your chosen stain according to the can's instructions, or give it a couple of coats of paint for a more modern look. Let it dry completely.
- Mount the Brackets: Follow the instructions that came with your floating shelf brackets. Usually involves attaching a mounting plate to the wall (make sure to hit wall studs or use drywall anchors for security!) and then sliding the shelf onto the concealed support rods.
- Style and Admire: Place a few favourite books, a small plant, and a framed photo on your new shelf. Step back and admire your functional handiwork!
Project 3: The Everywhere Phone & Tablet Stand
The Vibe: A simple, elegant, and incredibly useful stand to hold your phone or tablet while you're cooking, working, or video-calling.
What You'll Need:
- A small block of wood, about 4 inches wide, 6 inches long, and at least 3/4 inch thick.
- A ruler and a pencil
- Handsaw
- Sandpaper
- Wood glue (optional)
- A small piece of wood for the front "lip" (a square dowel works perfectly)
The Steps:
- Mark Your Groove: Decide on the angle you want your device to rest at. A comfortable angle is usually around 15-20 degrees. Draw a line across the width of your wood block where you want to cut the groove.
- Cut the Groove: Carefully use your handsaw to cut a slot along the line, about half an inch deep. The width of the slot should be just wide enough to fit your phone or tablet. You may need to make a few parallel cuts and chisel out the waste wood in between.
- Add the Lip: Cut a small piece of square dowel to the same width as your block. Glue this piece to the front edge of the stand to act as a lip, preventing your device from sliding forward.
- Finish Strong: Sand the entire stand until it's perfectly smooth, paying special attention to the inside of the groove and all the edges. You can leave it natural or apply a coat of oil or wax for protection and shine.
There you have it—three simple yet satisfying projects to build your confidence and fill your home with handmade charm. The journey of beginner woodworking starts with a single cut. So, pick a project, put it on your list of upcoming projects, and create your own Weekend Woodcraft Wonder.